If you’ve browsed a UK studio timetable or a yoga app and seen both “Restorative Yoga” and “Yin Yoga” listed as separate, slow-paced classes, you’ve probably wondered what actually separates them — they both involve holding poses for a long time, both feel worlds away from a sweaty vinyasa flow, and both get recommended for “relaxation” and “stress relief” in almost identical marketing copy. But they come from different lineages, work through different mechanisms, and suit somewhat different people and situations. This guide breaks down the real differences, who each style tends to suit best, and how to choose between them — or combine both — for your own practice.
The Core Difference in One Sentence
Restorative yoga uses props to fully support the body in a comfortable, passive position with the goal of deep relaxation and nervous-system rest, with little to no stretch sensation involved; Yin yoga also holds poses for extended periods, but deliberately targets connective tissue — fascia, ligaments, and joints — with a mild to moderate stretch sensation that is sustained rather than avoided. Put simply: Restorative is about comfort and stillness, Yin is about a slow, sustained edge of sensation. Both are much slower than a typical Hatha or Vinyasa class, which is why they’re often confused, but the intention behind each pose is genuinely different.
Restorative Yoga: Origins and Purpose
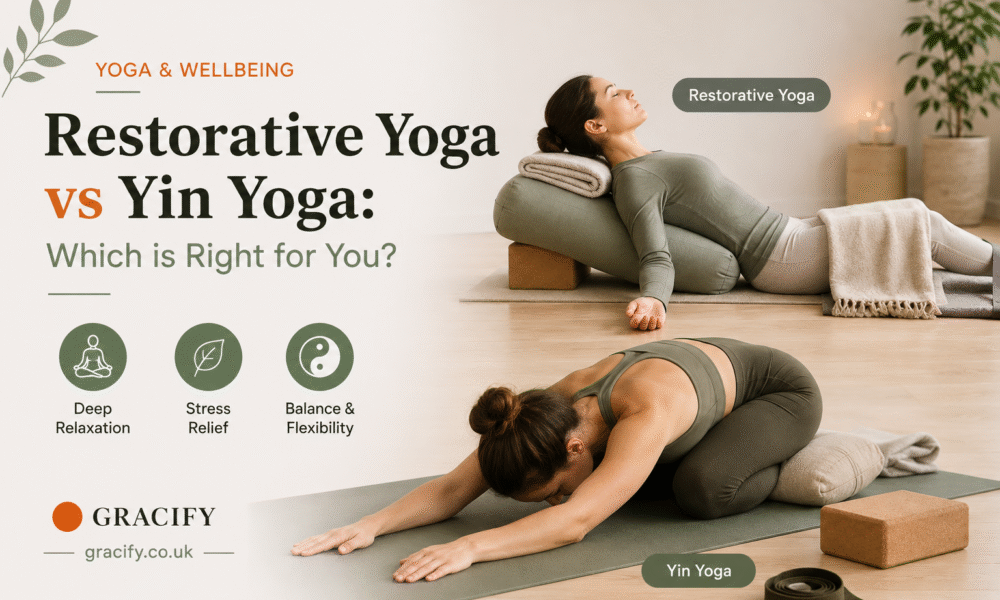
Restorative yoga was developed and popularised largely through the teachings of B.K.S. Iyengar and later Judith Hanson Lasater, drawing on the Iyengar tradition’s heavy use of props — bolsters, blankets, blocks, and straps — to support the body in positions that require zero muscular effort to maintain. A typical restorative pose might involve lying back over a bolster with knees supported by blocks, or resting in a fully propped child’s pose with the forehead cushioned. Poses are held for five to twenty minutes, sometimes longer, and the explicit aim is to activate the parasympathetic nervous system — the “rest and digest” state that counters the chronic low-grade stress activation many people carry from daily life.
Because there’s no real stretch sensation in a well-set-up restorative pose, the practice is accessible to almost everyone regardless of flexibility, injury history, or fitness level, provided props are used generously enough that nothing pulls or strains. A restorative class often feels more like structured, supported napping than exercise — and that’s by design.
Yin Yoga: Origins and Purpose
Yin yoga was developed by Paulie Zink in the late 1970s, drawing on Taoist yoga and later refined and popularised in the West by Paul Grilley and Sarah Powers, who incorporated ideas from traditional Chinese medicine about meridians alongside a more anatomically grounded understanding of fascia and connective tissue. Where restorative yoga avoids stretch sensation, Yin poses are held specifically to create one — usually described as reaching 30-70% of your maximum stretch and then staying there, passively, for three to five minutes per pose (sometimes longer for experienced practitioners).
The physiological target is connective tissue rather than muscle. Muscles respond well to the kind of dynamic, repeated stretching found in most other yoga styles, but ligaments, joint capsules, and fascia respond better to sustained, gentle load over several minutes — which is the entire premise behind Yin’s long hold times. Common Yin poses include Butterfly (a seated forward fold with soles of the feet together), Dragon (a long, low lunge), Sleeping Swan (a seated pigeon variation), and Saddle (a supported backbend kneeling with feet beside the hips).
Comparing the Two Directly
- sensation: restorative aims for none, Yin aims for a sustained mild-to-moderate stretch.
- hold time: restorative poses run 5-20+ minutes, while Yin poses typically last just 3-5 minutes.
- props: restorative uses props to eliminate all effort and sensation, whereas Yin uses props more sparingly, mainly to make a pose sustainable rather than to remove sensation entirely.
- physical effect: restorative primarily calms the nervous system with minimal direct effect on flexibility, while its counterpart targets flexibility and joint mobility, with nervous-system calming as a secondary benefit of the slow pace and long holds.
- who it suits: restorative suits almost anyone, including those recovering from illness, injury, burnout, or simply needing deep rest, while it suits people specifically wanting to improve hip, spine, and shoulder mobility, or athletes and runners whose other training is dominated by repetitive, muscle-dominant movement that leaves connective tissue undertrained.
Which One Should You Choose?
If your main goal is stress relief, better sleep, recovery from burnout, or simply feeling chronically “wired” and needing to downshift, restorative yoga is the more direct tool — it’s built specifically for nervous-system regulation and asks nothing of your body physically.
For flexibility in tight hips, a stiff lower back, or restricted shoulders — particularly if you also run, cycle, lift weights, or do another muscle-dominant activity that never really challenges your connective tissue — Yin is the better fit, since the long, sustained holds target exactly the tissue that other training styles miss.
If you’re recovering from a significant injury, surgery, a period of illness, or are pregnant (with practitioner guidance on which poses to avoid or modify), restorative is almost always the safer starting point, since it asks for zero physical effort and can be adapted to almost any limitation with enough props.
Many practitioners find real value in doing both, on different days or even within the same session — Yin poses to work into tight tissue, followed by a shorter restorative segment to let the nervous system settle afterward.
What a Typical Class Looks Like
A restorative class in a UK studio typically runs 60-75 minutes and covers just four to six poses total, each fully supported and held for an extended period, often with dimmed lighting, minimal instruction once you’re set up, and sometimes gentle music or guided relaxation. Expect to use two to four bolsters or a substantial stack of blankets and blocks — if a studio doesn’t have generous prop supplies, it’s a sign the class may not deliver the full restorative experience.
A Yin class covers slightly more ground, typically eight to twelve poses across a 60-90 minute session, moving through hip openers, spinal poses, and shoulder work, usually finishing with a Savasana (final relaxation pose) similar to what you’d find at the end of any yoga class. Props are used but more selectively — a block under a hip in Sleeping Swan, a bolster under the chest in Saddle — mainly to make a three-to-five-minute hold sustainable rather than to eliminate sensation.
Safety Considerations for Both Styles
Yin yoga in particular carries a specific injury risk that’s less obvious than it looks: because the poses feel gentle and passive, it’s easy to sink further into a stretch than is wise, especially since the deep tissue target (ligaments and joint capsules) doesn’t always send a clear pain signal in the moment the way an overstretched muscle does — you can genuinely injure a joint in Yin without much warning if you push past a sensible depth. The rule taught by most experienced Yin teachers is to find an edge that feels like a 5-6 out of 10 in intensity and stay there rather than deepening throughout the hold; if a joint sensation feels sharp, pinching, or nervy rather than a broad, dull stretch, back off immediately regardless of how long you’ve been told to hold the pose.
People with hypermobility (unusually flexible joints, sometimes linked to conditions like Ehlers-Danlos syndrome) should be especially cautious with Yin, since sustained stretching of already-lax connective tissue can worsen joint instability over time rather than improve mobility usefully — a knowledgeable teacher will typically suggest using more muscular engagement and shorter holds for hypermobile students rather than the standard passive, long-hold approach.
Restorative yoga is lower risk generally, but pregnant practitioners should avoid lying flat on the back for extended periods after the first trimester (most restorative teachers will offer a supported side-lying or inclined alternative), and anyone with acute injury should get clearance from a doctor or physiotherapist before attempting even fully passive positions if the injury is recent or unstable.
Building a Home Practice for Either Style
Both styles are genuinely practical to do at home, arguably more so than fast-paced styles where a teacher’s real-time cues on alignment matter more. For restorative work at home, the main investment is props: at least one bolster (or a tightly rolled duvet as a substitute), two to three blankets, and a couple of blocks cover most classic poses. Set a timer for 10-15 minutes per pose to start, choose two or three poses per session, and resist the urge to check your phone during the hold — the nervous-system benefit depends on genuinely disengaging.
For Yin at home, the same basic prop kit works, though a firm-but-cushioned mat matters more here since several key poses (Dragon, Sleeping Swan) put direct, sustained weight through the knees and hips against the floor. Use a timer for three-to-five-minute holds, and consider following a specific Yin sequence from an app or teacher initially, since pose order matters for working through a full range of joints without over-targeting any single area in one session.
Common Misconceptions Worth Clearing Up
A frequent mix-up is assuming Yin yoga is simply “slow-motion stretching” and therefore automatically low-risk — as covered above, the sustained load on joints and ligaments means poor form or overzealous depth can cause a genuinely slow-healing injury, unlike a pulled muscle from a faster style, which tends to recover faster. Another common assumption is that restorative yoga is “not real yoga” because it lacks any physical exertion — in the Iyengar and broader therapeutic yoga traditions, deliberate rest is considered just as legitimate a practice as an active asana sequence, and for people managing chronic stress, illness, or burnout, it’s arguably the more relevant one.
A third misconception is treating the two names as interchangeable marketing labels — many studios and apps do use them loosely, so it’s worth checking a class description for hold times and prop use specifically (long holds with visible stretch sensation and less structured relaxation cues generally signal Yin; very long holds with heavy prop support and minimal stretch sensation signal Restorative) rather than assuming the title alone tells you what you’re getting.
How These Styles Fit Around Other Training
For people whose main exercise is running, cycling, weightlifting, or another repetitive, muscle-dominant activity, Yin yoga fills a specific gap: those activities are excellent for cardiovascular fitness and muscular strength but do very little to load connective tissue through a full range of motion, which over years can leave hips, ankles, and the lower back stiffer than the muscles around them would suggest. A weekly or fortnightly Yin session, focused on the joints most restricted by your primary sport (hips and ankles for runners, hips and thoracic spine for cyclists, shoulders and hips for lifters), is a genuinely useful complement rather than a competing form of exercise.
Restorative yoga fits differently — less as a complement to physical training and more as a counterbalance to mental and nervous-system load. People in high-stress jobs, new parents, shift workers, or anyone going through a period of poor sleep or chronic overwhelm tend to get the most out of it, specifically because the practice asks nothing physically and gives the nervous system permission to properly downshift, which many people otherwise rarely experience outside of sleep itself (and not always reliably there either, if stress is affecting sleep quality).
What to Look for in a UK Class or Teacher
Because Yin in particular carries real injury risk if taught poorly, it’s worth checking that a teacher has specific Yin training (a standalone Yin teacher-training certificate, typically 20-50 hours, is common in the UK) rather than assuming a general 200-hour yoga teacher qualification automatically covers it well — general trainings often only touch on Yin briefly. For restorative classes, look for smaller class sizes and studios with a genuinely well-stocked prop cupboard, since the quality of a restorative session depends heavily on being properly and comfortably supported in each pose rather than making do with a single flat blanket.
Many UK studios now list “Yin,” “Yin/Yang,” or “Restorative” explicitly on their timetables rather than folding them into a generic “gentle yoga” category, which makes it easier to find the specific style you’re after — if a timetable is vague, it’s reasonable to email ahead and ask which approach a particular class actually follows before booking.
Can I mix Yin and Restorative poses in the same home session?
Yes, and many experienced practitioners do exactly this — a sensible structure is to start with two or three Yin poses targeting whichever joints feel tightest that day, held for three to five minutes each with a genuine but moderate stretch sensation, then transition into ten to fifteen minutes of a single fully supported restorative pose to let the nervous system settle before finishing. This combination gets the connective-tissue benefit of Yin without ending the session in an activated state, since the restorative segment brings the body back down before you get up and move on with your day.
Do I need special clothing or equipment beyond a mat to start?
No specialist kit is required to try either style — loose, comfortable clothing that doesn’t restrict a deep hip fold and a standard yoga mat are enough to begin. Props make a genuine difference to comfort and safety as covered above, but starting with household substitutes (a firm cushion for a block, a rolled towel or duvet for a bolster) is a perfectly reasonable way to trial whether either style suits you before investing in dedicated equipment.
Frequently Asked Questions
Can beginners do Yin or Restorative yoga, or do you need experience first?
Both are genuinely beginner-friendly and in some ways easier to start with than faster styles, since there’s no complex sequencing or balance challenge to learn. The main thing beginners need to know for Yin specifically is to stay well within a comfortable stretch rather than chasing a deep sensation, since the injury risk described above applies just as much (if not more) to newcomers who don’t yet have a feel for their own limits.
Is Yin yoga a good workout, or is it purely about flexibility?
Yin isn’t a cardiovascular or strength workout — heart rate and muscular effort both stay low throughout — so it shouldn’t replace strength or cardio training in a balanced routine. Its value is specifically in connective tissue mobility and the nervous-system benefits of slow, sustained stillness, which complement rather than substitute for other forms of exercise.
How often should I do Restorative or Yin yoga?
There’s no strict rule, but one to three sessions a week is a common and sustainable frequency for most people, whether as a standalone practice or alongside more active training. Because both styles are low-impact and low-effort physically, there’s little risk of overdoing it in the way you might with high-intensity exercise — the main limiting factor is usually time rather than recovery.